Summary:
How the Roof Replacement Process Actually Starts
Before any work begins, we walk you through what’s about to happen. Expect delivery trucks, dumpsters positioned in your driveway, and protective measures around landscaping or pools. Our crews arrive early to maximize daylight hours, especially during shorter winter days.
Communication matters here. We explain the timeline, identify the site supervisor, and give you a direct contact for questions. You’ll want to move vehicles out of the driveway, secure pets indoors, and let neighbors know about temporary noise. If you have specific concerns about delicate plants, outdoor furniture, or access points, speak up before we start.
The project officially kicks off with the tear-off phase. This is loud, messy, and necessary—there’s no way around it.
Tear-Off and Disposal: Removing the Old Roof
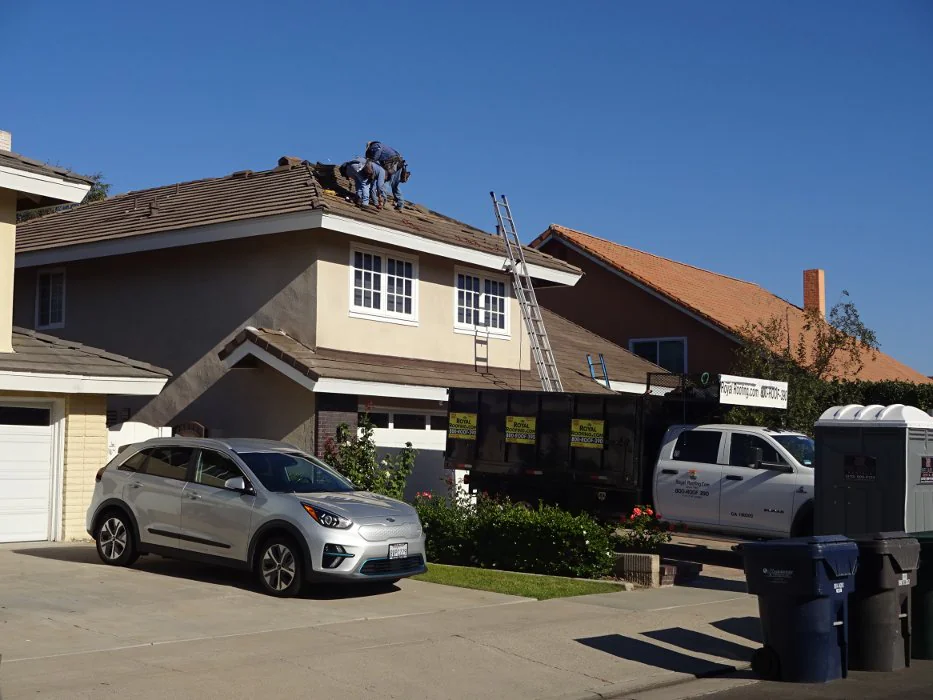
The tear-off is exactly what it sounds like. Our crews strip your roof down to the bare decking, removing old shingles, underlayment, flashing, and any deteriorated materials. This phase generates significant debris, which is why dumpsters and tarps become essential.
In California, construction debris management isn’t optional. State and local regulations require that roofing materials be separated and recycled where possible. Asphalt shingles, wood, metal flashing, and other materials must be delivered to approved facilities that track diversion rates. We handle this as part of the project—not as an afterthought. You won’t see piles of old shingles sitting in your yard for days or mysteriously disappearing without documentation.
Tear-off exposes what’s really happening under the surface. You might discover issues that weren’t visible from the ground—rotted wood, improper ventilation, or previous repairs done incorrectly. These findings aren’t us trying to upsell you. They’re real problems that need addressing before new materials go on. Skipping repairs at this stage means those issues will haunt you later, often in the form of leaks, mold, or premature roof failure.
Most tear-offs for an average-sized home wrap up in a day, sometimes less. Larger or more complex roofs take longer, especially if multiple layers of old roofing need removal. Our crews work in sections, often tearing off and replacing portions at a time to limit exposure of the roof deck to weather. This approach also reduces the risk of sudden rain catching your home with an open roof.
Noise is unavoidable. Expect banging, scraping, and the sound of debris hitting the dumpster. If you work from home or have young children, plan accordingly. Most homeowners stay in the house during replacement, but it’s not a quiet day.
Roof Deck Inspection: Finding Hidden Damage Before It's Too Late
Once the old materials are off, the roof deck becomes fully visible. This is one of the most critical phases of the entire roof replacement process, and it’s where experience separates quality contractors from those just trying to finish fast.
The deck—typically plywood or OSB sheathing—is the foundation everything else sits on. If it’s compromised, your new roof won’t perform as intended. We look for soft spots, rot, water stains, warping, and improper fastening. In Orange County and Los Angeles, where many homes were built decades ago, it’s common to find areas where moisture infiltrated through old, failed flashing or where ventilation issues caused condensation damage.
Rotted or damaged decking must be replaced. There’s no workaround. Laying new shingles over bad wood is like putting new tires on a car with a broken axle—it doesn’t solve the underlying problem. Replacement involves cutting out the compromised sections and installing new sheathing that’s properly fastened to the roof framing. California building codes specify fastener spacing and materials, and inspectors check this during the final review.
Ventilation gets evaluated during the deck inspection as well. Proper attic ventilation prevents moisture buildup, reduces heat stress on roofing materials, and extends the life of your roof. Code requires one square foot of ventilation for every 150 square feet of attic space. If your current system falls short, this is the time to upgrade—before the new roof goes on.
Flashing around chimneys, skylights, vents, and wall intersections also gets scrutinized. Old flashing that’s rusted, cracked, or improperly installed won’t protect your home, even with new shingles on top. We replace all flashing as part of a complete roof replacement. Reusing old flashing to save a few dollars almost always leads to leaks down the road.
This inspection phase is also when photo documentation becomes valuable. If you’re filing an insurance claim, detailed photos of hidden damage—rotted decking, failed flashing, inadequate ventilation—support your case. Adjusters want proof that the damage is real and that repairs are necessary, not cosmetic upgrades.
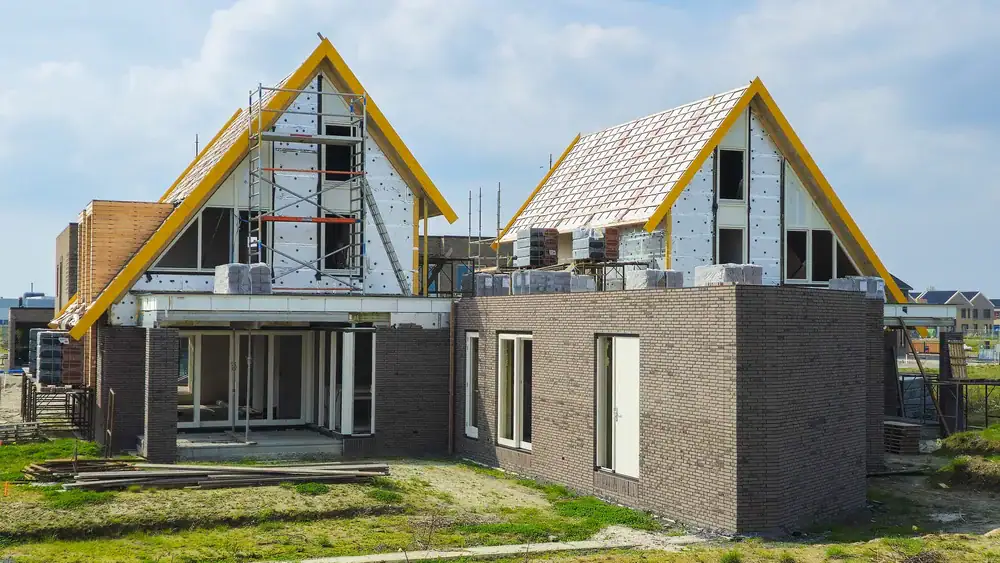
Installing the New Roof System: Underlayment, Flashing, and Ventilation
With the deck inspected and repaired, installation of the new system begins. This isn’t just about slapping shingles on and calling it done. A proper roof replacement involves multiple layers, each serving a specific function in keeping water out and your home protected.
The sequence matters. Underlayment goes down first, then flashing, then shingles. Skipping steps or doing them out of order compromises the entire system. Our experienced crews follow manufacturer specifications and local building codes, both of which dictate how materials should be installed for maximum performance.
Underlayment Installation: Your Roof's Secondary Defense
Underlayment is the layer between your roof deck and the shingles. It acts as a secondary water barrier, protecting your home if wind-driven rain gets under the shingles or if a shingle fails. California building codes require underlayment on all roof installations, and the type used depends on roof pitch and local conditions.
Asphalt-saturated felt has been the traditional choice for decades, but synthetic underlayment has gained popularity for its durability and resistance to tearing. Some areas prone to high winds or heavy rain may require self-adhering underlayment, especially along eaves and valleys where water concentration is highest.
Installation starts at the eaves and works upward, with each row overlapping the one below it. This shingle-fashion layering ensures water always flows over the seams, never under them. Proper overlap—typically four to six inches—prevents gaps where water could infiltrate. Fasteners must be spaced correctly to keep the underlayment secure without creating puncture points that could leak.
Valleys, where two roof planes meet, get special attention. Water runs fastest and in the highest volume through valleys, making them vulnerable to leaks if not detailed correctly. We use additional underlayment or valley flashing to reinforce these areas. Cutting corners here is one of the most common sources of future leaks.
Around penetrations—vents, chimneys, skylights—underlayment must be carefully cut and sealed. Gaps or improper laps create pathways for water to reach the deck. This is detailed work that requires precision, not speed.
The underlayment phase is also when you’ll see drip edge installed along the eaves and rakes. Drip edge is metal trim that directs water away from the fascia and into the gutters, preventing rot and protecting the edge of the roof deck. It’s required by code in most California jurisdictions and should be installed before the underlayment at the eaves, but over the underlayment at the rakes.
Flashing and Ventilation: The Details That Prevent Future Problems
Flashing is thin metal—usually aluminum, galvanized steel, or copper—installed at joints and penetrations to direct water away from vulnerable areas. It’s one of the most important components of a roof system, yet it’s often where inexperienced contractors cut corners.
Step flashing goes along walls where the roof meets vertical surfaces, like dormers or second-story walls. Each piece overlaps the one below it and tucks under the siding or wall cladding, creating a waterproof transition. Proper step flashing is installed as the shingles go on, not before or after, ensuring each shingle course integrates with the flashing.
Chimneys require counterflashing, which is embedded into the chimney masonry and laps over base flashing installed on the roof. This two-part system allows for differential movement between the roof and chimney without breaking the seal. Skylights and vent pipes get boot flashing or specialized kits designed to seal around the penetration while allowing for thermal expansion.
Valleys can use open-valley or closed-valley flashing. Open valleys expose the metal and provide a clear channel for water to flow, which works well in areas with heavy rain or debris. Closed valleys weave or cut shingles over the valley, offering a more uniform appearance but requiring precise installation to prevent leaks.
Ventilation installation happens concurrently with the roofing materials. Ridge vents, installed along the peak of the roof, allow hot air to escape from the attic. Soffit vents along the eaves let cool air enter, creating continuous airflow that regulates attic temperature and moisture. This circulation prevents condensation, reduces cooling costs, and extends the life of roofing materials by minimizing heat stress.
California’s climate—intense sun, occasional heavy rain, and temperature swings—makes proper ventilation critical. Without it, attics can reach 150 degrees or higher in summer, cooking shingles from below and shortening their lifespan. Moisture trapped in poorly ventilated attics leads to mold, wood rot, and insulation damage.
Inspectors check ventilation during the final review, and many building departments won’t sign off on a roof replacement if ventilation doesn’t meet code. Contractors who skip or shortcut this step leave you vulnerable to failed inspections and long-term problems.
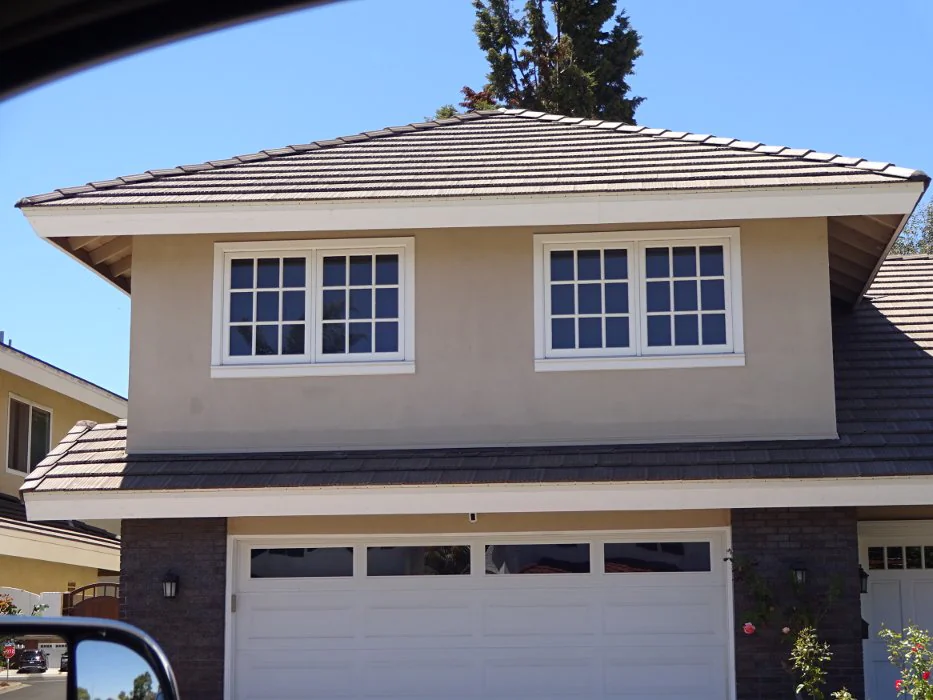
What Happens After Your Roof Replacement Is Complete
Once the final shingles are in place and ridge caps installed, our crew conducts a thorough cleanup. Magnetic sweeps pick up stray nails, tarps are removed, and dumpsters hauled away. Your property should look as good—or better—than it did before work started.
A final walkthrough gives you the chance to ask questions, review the work, and confirm everything meets your expectations. We provide documentation—photos, warranties, permit sign-offs—that you’ll need for insurance, future home sales, or warranty claims. Keep these records organized and accessible.
Your new roof represents a significant investment in your property’s protection and value. Understanding what happens during each phase of the roof replacement process helps you make informed decisions, recognize quality work, and feel confident that the job was done right. If you’re in Orange County or Los Angeles County and facing a roof replacement, we bring the experience, certifications, and transparency that turn a stressful project into a straightforward process.